Extending the life of any vegetable is the ultimate nod toward living sustainably and with environmental consciousness, so why not continue benefiting from food you purchased or grew? Get the most out of all vegetables before sending them to the compost bin by cultivating a food scrap garden on your windowsill or countertop.
Plants grow. They are living things and will continue to grow roots and sprouts even after harvest. We’ve all seen this when a potato left too long in our pantry sprouts, or the garlic cloves send up green shoots. Most plants will continue to grow even without soil, needing only water, sunlight, and eventually food to continue producing. This works particularly well for anything with a leafy green that we can harvest.
Leaves grow from the center out and will put on growth slowly, so don’t expect to get great harvests from this foray into growing from scraps. It’s a fun project that ensures you’ll always have something fresh at hand, and a great way to involve kids in urban agriculture and nutrition.
The process is pretty straightforward and simple. The basic how-to involves setting the root end of a vegetable in a shallow bowl of water and placing it in a sunny spot—a windowsill that receives direct sun is the perfect setting. You can use a tall water glass, a shallow baking pan, or any receptacle in which the vegetable can stand in a shallow pool of water. Standing water is a hospitable atmosphere for bacteria and encourages decomposition, so be sure to change out the water and clean the dish regularly—once every two to three days, at least.
I suggest starting with a locally grown, organic vegetable because these are typically cultivated as a field crop in healthy soils and spend less time in transport, making them a healthier choice all around.
Celery and Bok Choy
- Trim the edible portions from a head of celery or bok choy, cutting 2 inches above the root end. If the cut root end of the plant is soft and browned, slice off a very thin layer.
- Set the root base in a tall glass and fill with enough water so the bottom 1⁄4 to 1⁄2 inch of root is submerged.
Lettuce
- Choose a nonheading lettuce for this project; crispheads like iceberg lettuces do not work well.
- As with celery, trim the bulk of the leaves from the stem, leaving behind about 2 inches on the root end of the plant. If the root end of the plant is soft and browned, slice off a very thin layer.
- Set the root base in a tall glass and fill with enough water so the last 1⁄4 to 1⁄2 inch of root is submerged, and place in a sunny spot.
Green Onions/Scallions
- Trim the edible, green portion from the tall onions, leaving behind about 2 inches of stem on the root end of the plant.
- Set the root base in a tall glass and fill with enough water so the last 1⁄4 to 1⁄2 inch of root is submerged.
- The green tops will regrow for several weeks (don’t forget to change the water!), and you can continue cutting them and regrowing them until production slows.
Tubers: Potatoes, Ginger, Turmeric
The edible parts of these plants are grown underground as a tuber. A quick note on growing these plants from scraps. Can you do it? Sort of. You just use a piece of the food as a starting point for a new plant. To give this a try:
- cut pieces from the tuber and float them in a shallow pool of water until they develop root systems; then you can plant them deeply in soil.
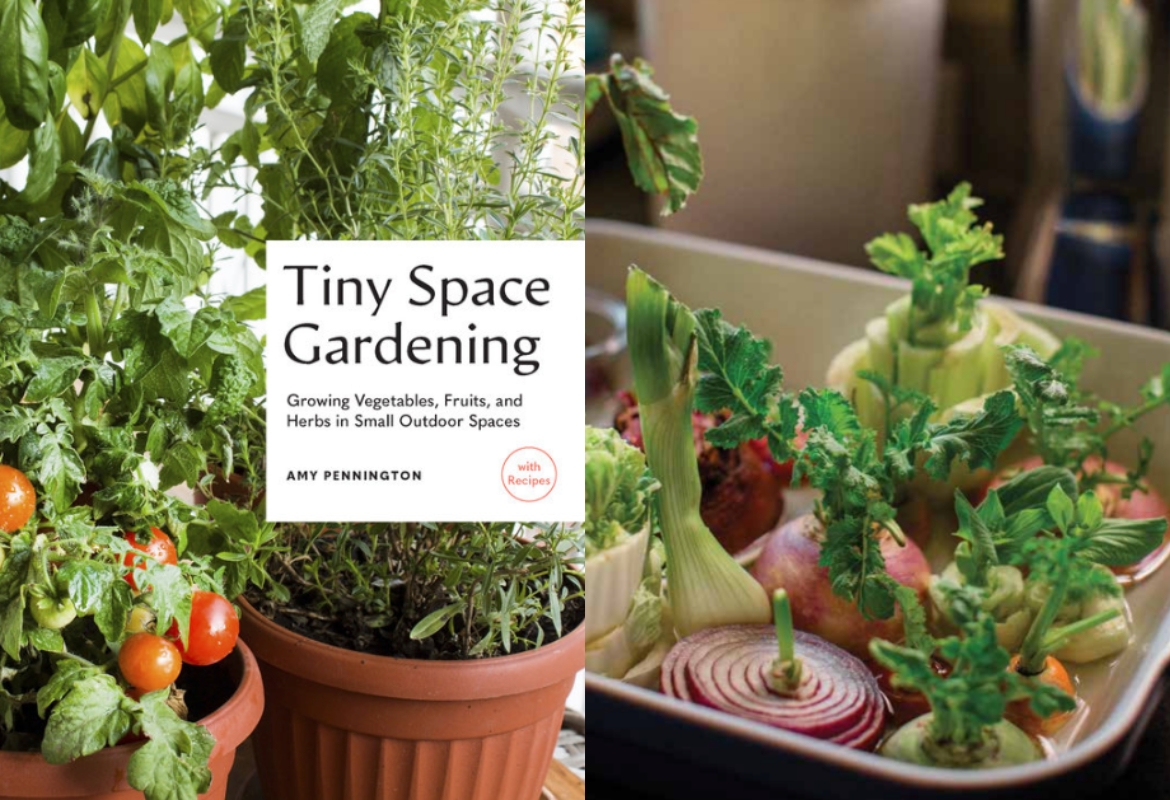
Get the book!
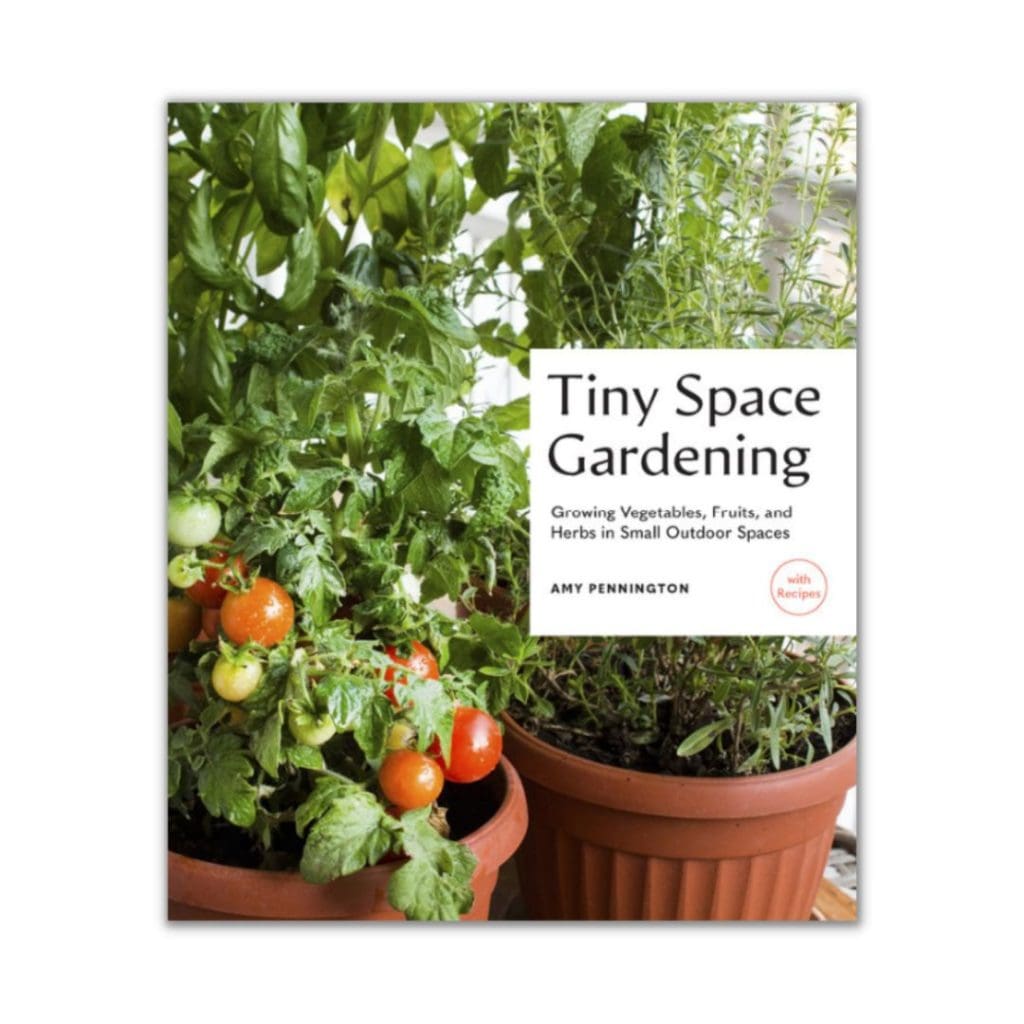
Tiny Space Gardening by Amy Pennington
Learn the basics of gardening in pots and containers, find small windowsill and countertop projects, and receive specific recommendations for edibles that grow well in containers. Also included are 30 simple recipes you can make with your harvest, from Zucchini Fritters to Herby Pasta with Lettuce and Proscuitto, to Rosy Strawberry Buttermilk cake. No matter how small your space, you can successfully grow edibles and then enjoy your harvest!